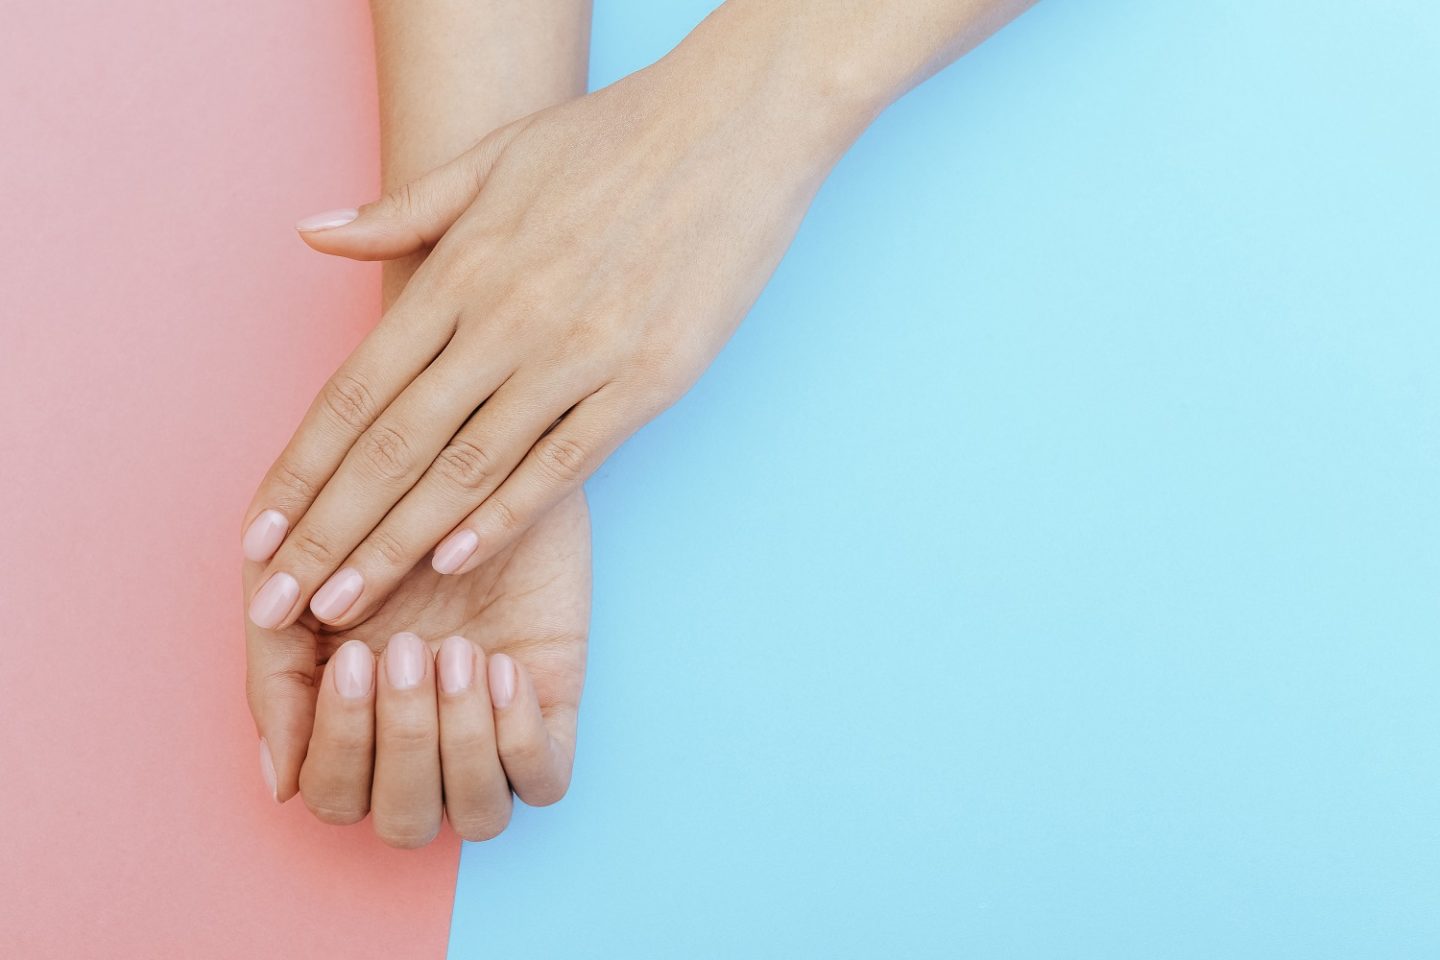
No smudging, no chipping and strong healthy-looking nails … gel nails are a godsend – but what happens when the world turns on its head a week before you’re due your next appointment and you have to remove gel polish at home?
Should you just pick them off?
No!
I know this seems the quickest and easiest option, but it can seriously damage your nails leaving them weak and ridged.
So, I’ve devised the ultimate guide to help you remove gel polish at home that your nail girl will love me for.
How to remove gel nails at home: what you need
- Acetone (or at least nail polish remover that is mainly acetone)
- Cotton wool pads
- Nail file/Buffer
- Tin foil
- Cuticle oil
- Cuticle stick
Where do I start?
Buff your nails using your nail file, or even better get yourself an actual nail buffer, I find these much easier to use and you can buy them for less than £1 at Home Bargains. You need to buff the top layer of colour off until you reach the gel underneath.
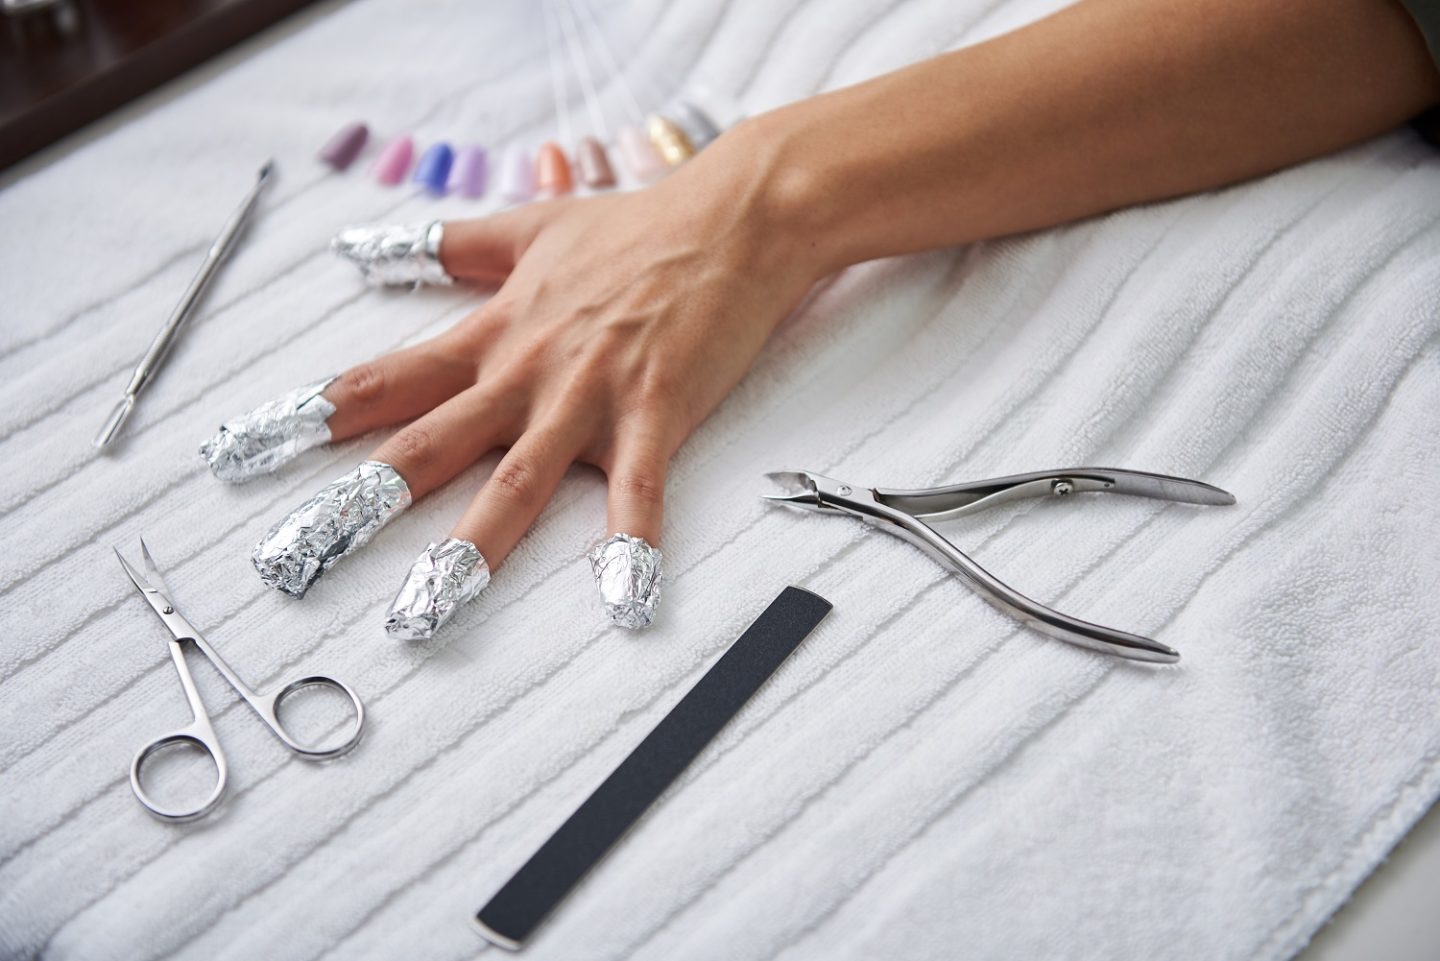
Soak your cotton pads in acetone and place over your nails, I like to wrap them round or cut them to size.
Next, cut small pieces of tin foil and wrap the cotton pad to your nail securely, this helps to keep the moisture and stop the acetone from drying out too quickly.
How long do I have to wait?
I usually leave them to soak for around 15 minutes, usually when I’m watching something so I am not tempted to pick too early.
Now what?
Once you have removed the tin foil and pads you will see the gel has lifted and will start to flake. Use your cuticle stick to push the gel off.
Then buff again.
You may need to repeat the soaking 2-3 times to remove all of the gel.
Finish with oil
Massage your cuticle oil deep into your nail beds and I always trim my nails short to keep them looking strong and healthy.
Key things to remember!
Be gentle – do not force the gel off, just soak and buff.
Be patient! Your nails will thank you for it.
xx

Beauty Editor at The Daily Struggle. Beauty and makeup loving Liverpool girl with a tendency to over share and over spend. Dawn writes everything from skincare reviews to the latest makeup looks.

