Long gone are the days that a simple face wash, some moisturiser and occasionally a 99p Home and Bargain face mask would have done the job, the good old days! But, we are the generation of DIY and let’s face it, with nothing but time on our hands these days we’ve got no excuse not to come out of this positively glowing. Here is the simple, DIY facial you can do with your current skincare or products you’ll have in your kitchen. You’ve got to nourish if you want to flourish..
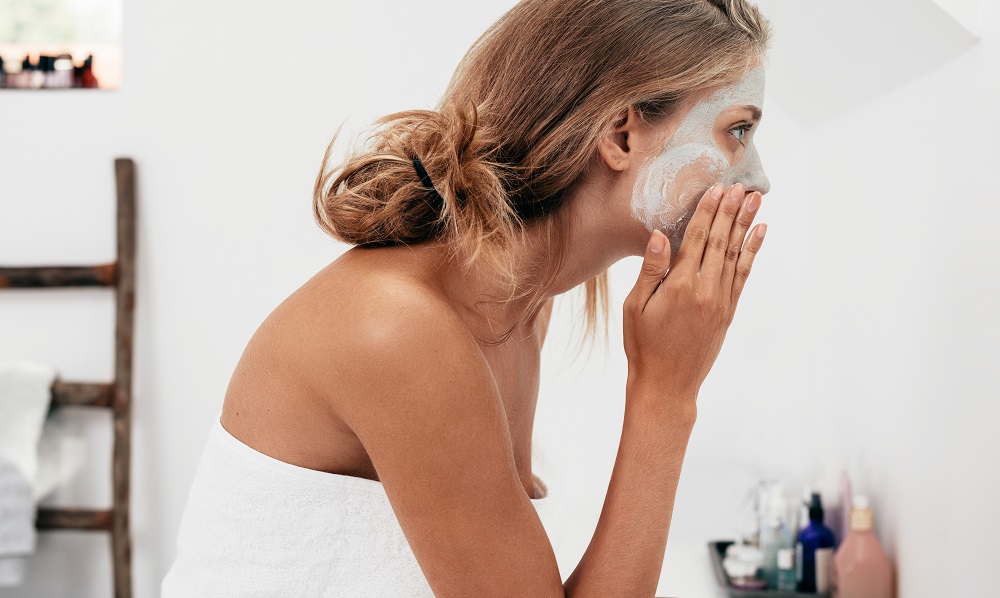
Step 1 of your DIY Facial: Double Cleanse
Without a doubt, the most crucial part of your skincare routine and the basis of any DIY facial. You need a clean canvas before you can work your magic, and the two fold process serves a purpose I promise. The first cleanse, is to remove any dirt, makeup or product build-up on your skin. The second cleanse focuses on working much deeper into the pores drawing out any impurities. Ideally the first should be done with an oil based cleanser, and a water based one for the second. But don’t worry if you’re not a fancy nancy and you don’t have two cleansers just use your usual cleanser twice. Be sure to deeply massage both products into the skin in circular motions and rinse thoroughly with warm water.
Step 2: Exfoliate
By gently polishing the skin with a mild scrub, we can get rid of trapped dirt and dead skin cells that are congesting your pores.Delicately work a small amount of your exfoliator into your skin in circular motions being careful not to aggravate the skin and rinse with warm water. If you have inflamed acne or really irritated skin be really gentle. Your skin will look instantly brighter after this step revealing fresh new skin.
Tip: If you don’t have an exfoliator you can make one out of sugar or finely blended oats, lemon juice and oil such as olive or coconut.
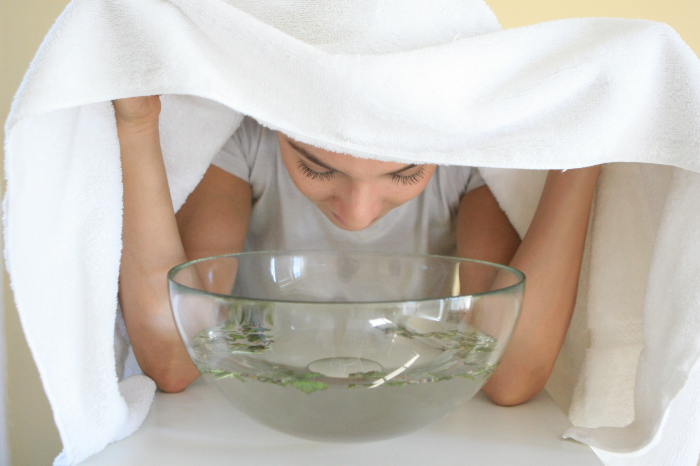
Step 3: Steam
Steaming causes increased blood circulation which promotes collagen and elastin production, leaving with you with younger-looking skin and a hydrating glow. Now we want to open them pores ready to absorb the products you’re going to nourish them with. Nothing fancy here, if you don’t have a facial steamer all you need is a bowl of boiling water and a towel. Position your head over the bowl and cover with the towel making sure all of the heat is trapped inside so you feel the full benefit of this process. Do this for 5-10 minutes. If you want to create that spa vibe, add a little aromatherapy to your facial with a few drops of essential oils to the water. Oils like tea tree are amazing for congested pores, and lavender for a deeply relaxing experience.
Step 4: Extract
This step is optional and if you don’t really suffer with blackheads then you lucky girls can skip to the next step. Now your skin is relaxed and pores are all open, we want to extract any blackheads or congestion (this does not mean spots, you keep your friends close and enemies closer). Clean hands are a must! We haven’t come this far for you to clog your pores back up with dirty hands oh no! Wrap tissue around your fingers and gently, insync push down on different areas of the skin to extract. Don’t get too hung up on the little stubborn ones that won’t come out as you can risk damaging your skin if you’re too persistent. Rinse your face with warm water after.
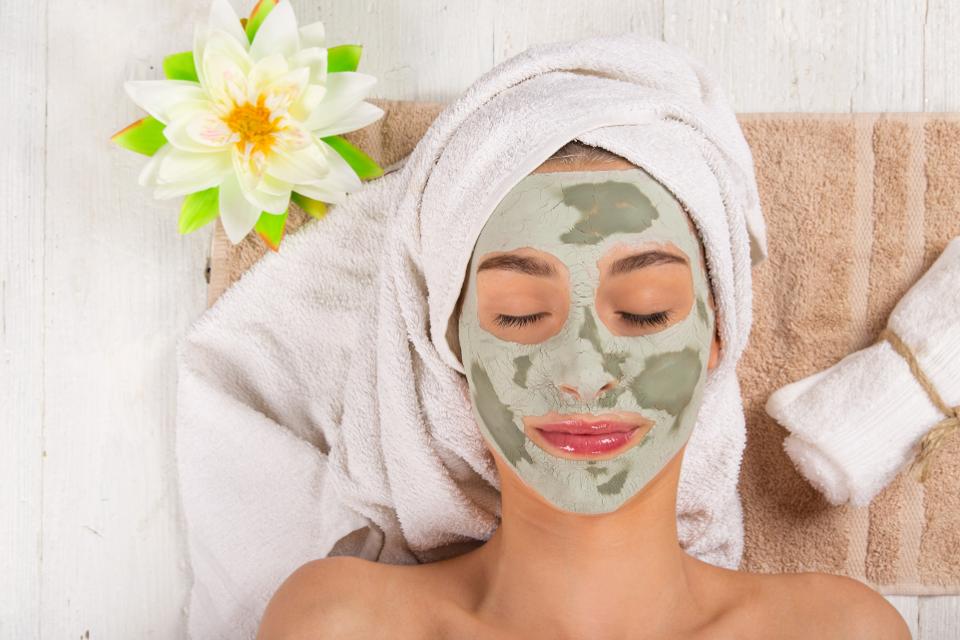
Step 5: Mask
Now your skin is gorgeously clean, it’s time to hydrate and nourish. Using whatever face mask you have in your house, follow the application instructions and leave to set for the allocated time. Once your time is up, wash off with warm water and pat your face dry with a clean towel. No face masks? No problem. Here’s a few DIY masks you can make with ingredients from your kitchen. Simply mix the ingredients together and leave to set for 20 minutes.
Oily/ acne prone skin: Banana, plain yogurt and turmeric.
Dry skin: Honey and avocado.
Sensitive skin: blended oats, grated cucumber and honey
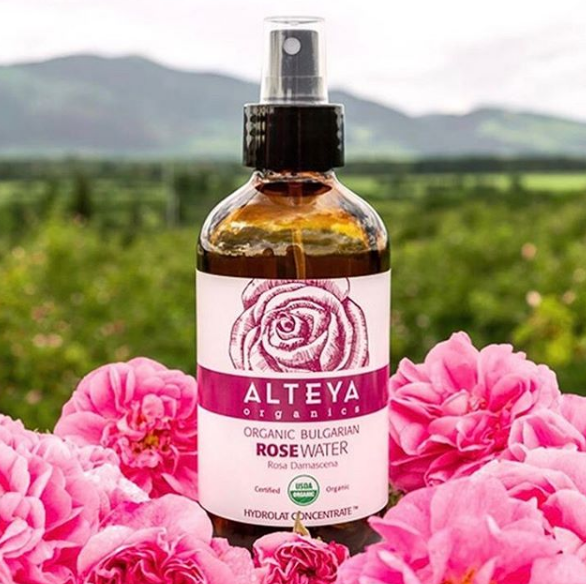
Step 6: Tone
The end is near girls! Now that your skin has soaked up all of the goodness from the mask, it’s time to close the pores to prevent all of our good work being undone. Toners help to store the PH balance of the skin and seal the pores. This step is especially important for acne prone skin to prevent dirt re-entering the pores. Apply on a cotton pad all over the face.
Step 7: Moisturise
Last but not least, we need to hydrate the skin to give you that post facial glow. If you use any serums apply them first and let them soak in. Then apply your fave moisturiser by gently massaging all over your face and neck and allow it to sink into your skin. If you’re an eye cream kind of gal then now would be the time to apply.
The final unofficial step is to take a selfie to prove to the world that you’re a glow getting, independent woman pretending to have her life together. Happy glowing!
Shop our recommended DIY facial products below, tried and tested by The Daily Struggle;
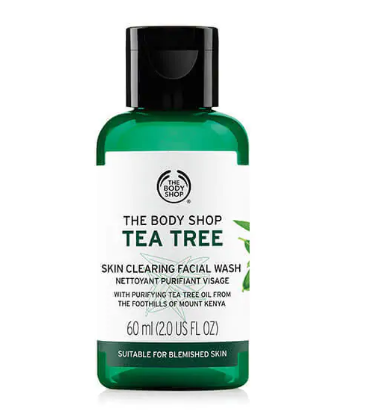
£3 | The Body Shop
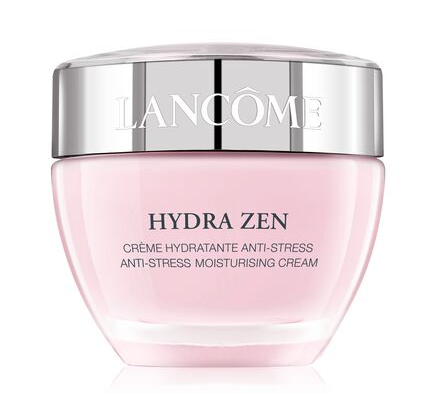

£15 | Nakin
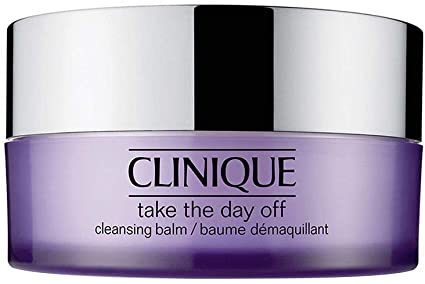
£25 | Clinique
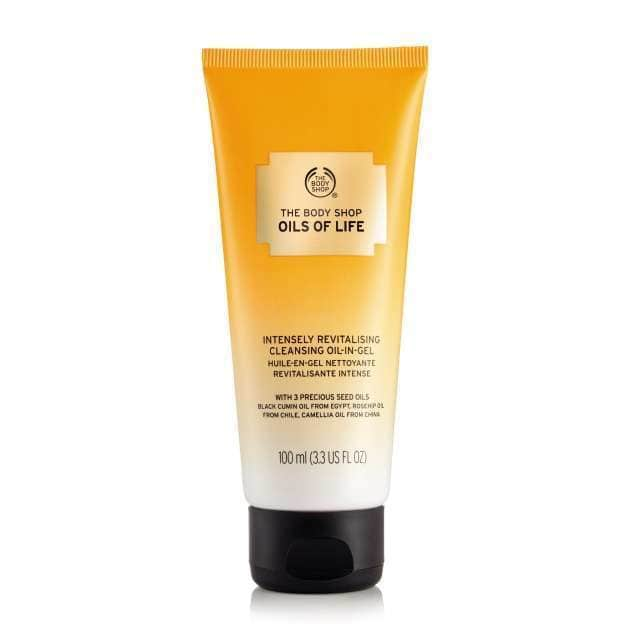
£12 | The Body Shop
£33 | Bare Minerals
£4.50 | The Ordinary

Liverpool based Skin Care specialist offering Facials, Dermaplaning and Chemical Peels.
Follow on Instagram @illuminate_skin

