Whether your taking a break to keep your lashes healthy, or just trying to wean yourself off your Russians, here’s how to apply individual lashes – and other DIY lash options that might help you through this naked mole rat stage of our lives.
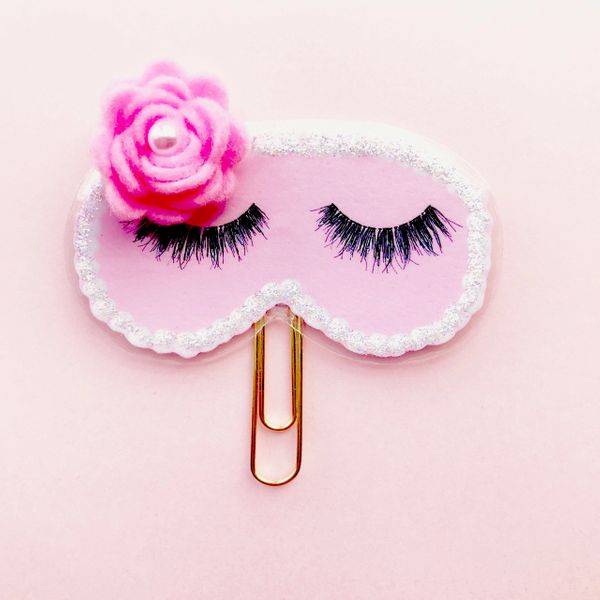
Individual lashes
If you want that light, fluffy feel of Russian volume lashes, strip lashes aren’t going to cut it. So, you could try to apply your own individuals – they won’t be as good as the semi-permanent lashes you’re used to, but they will feel a bit more normal.
DIY individual lashes are not for the faint hearted, but it is possible. I’m not going to lie to you, it’ll take some practice but surely you have the time? You’re going to need:
- Individual lash extensions
- Black lash adhesive
- Lash tweezers (regular tweezers will also work, but it’s going to be more difficult to navigate.)
- Lash curlers (optional)
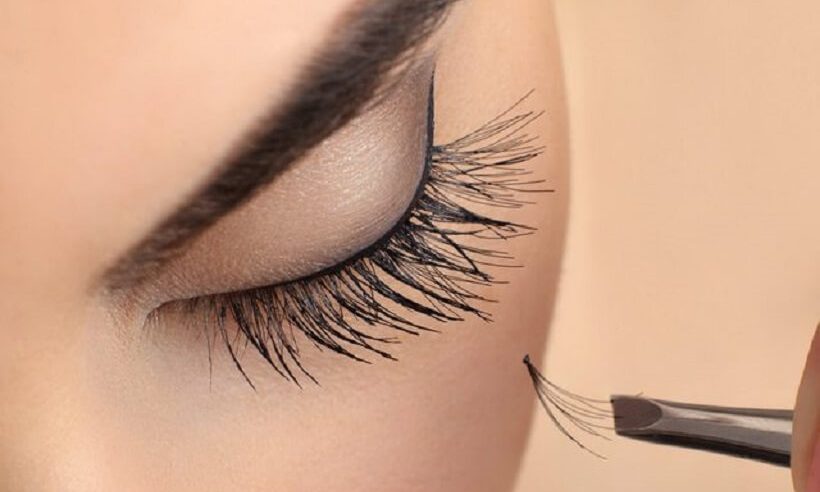
How to apply individual lashes
Step One: Thoroughly cleanse your eyes and eyelashes to make sure any makeup residue is removed. I’d recommend using a non-oily cleanser to make sure the glue holds. Use a clean mascara brush to brush your natural lashes into shape.
Step Two: Pour some of your black lash adhesive onto some tinfoil, a few drops will do, and using your tweezers gently lift an individual lash cluster from the tray. You’ll probably ruin a few finding the right spot to pick them up, but don’t worry it’s just a learning curve.
Step Three: Carefully dip the tip of the lash cluster into the glue, you only want a TINY bit, so no dunking!
Step Four: Position the individual lash directly underneath your natural lashes, as close to the lash line as you possibly can, without touching you eyelid. Hold for around 15-20 seconds so that the glue can bond. Using a mixture of short and medium lashes, keep doing this along the lash line, adding as many or as few as you want to create the look you’re going for.
Step five: Once you’re happy with your lashes, use lash curlers to bond the lashes together, then use a clean mascara brush to gently comb through the lashes, blending them in to your natural lashes and neatening them up.
How to remove individual lashes
It’s so important that you remove your individual lashes properly when they start to come loose. Pulling them is NOT an option: at best it’ll sting, and at worst you’ll pull your natural lash out with it.
The best way to remove individual lashes at home is to soak a cotton pad with micellar water, eye makeup remover, or cleansing oil and rest it on your eye around 30 seconds in order to dissolve the lash glue. You should then be able to gently peel the lashes away with your finger, but if you’re still tugging, repeat the process.
Strip lashes
If you can’t quite face the ordeal of applying your own individual lashes, (and honestly, who could blame you) you’re probably better sticking to strip lashes.
A lot of strip lashes can feel too OTT for everyday wear, and let’s face it that’s what we’re going to be doing. But Ardell have a lovely range of fluffy-yet-subtle strip lashes that are perfect for that state-ordered walk.
Embrace your natural lashes
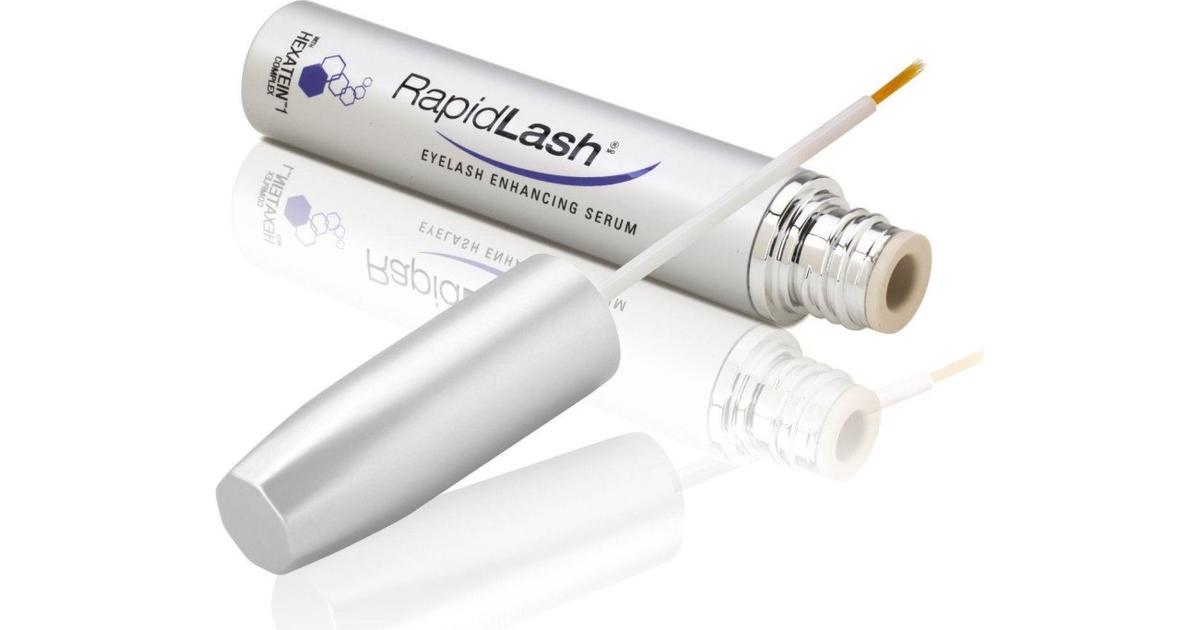
Not my first choice either, but hear me out. If you’re looking to make your eyelashes grow quickerly, there’s a product I’ve been using called RapidLash Eyelash Enhancing Serum. You apply it to your natural lashes every evening and it helps them to grow faster, look fuller and feel healthier. I’ve been using it for around three weeks and I’m shocked by how much my eyelashes have grown in that time, especially considering the condition they were in after over a year without a break from Russians. Perhaps this forced lash-break is a good thing after all.

Just a group of real women dealing with life’s daily struggles! Want to write for us? Email: hello@thedailystruggle.co.uk

