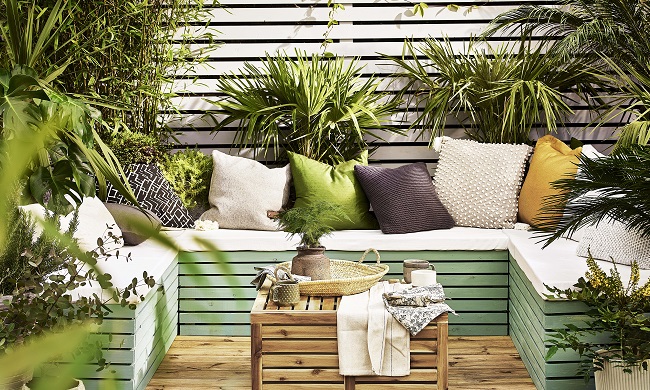
If you’re lucky enough to have a garden, chances are you’ve been spending almost every waking minute out there over the last few weeks – but if your outdoor area is looking a little …meh, here are 5 budget DIY projects that are guaranteed to brighten up your garden.
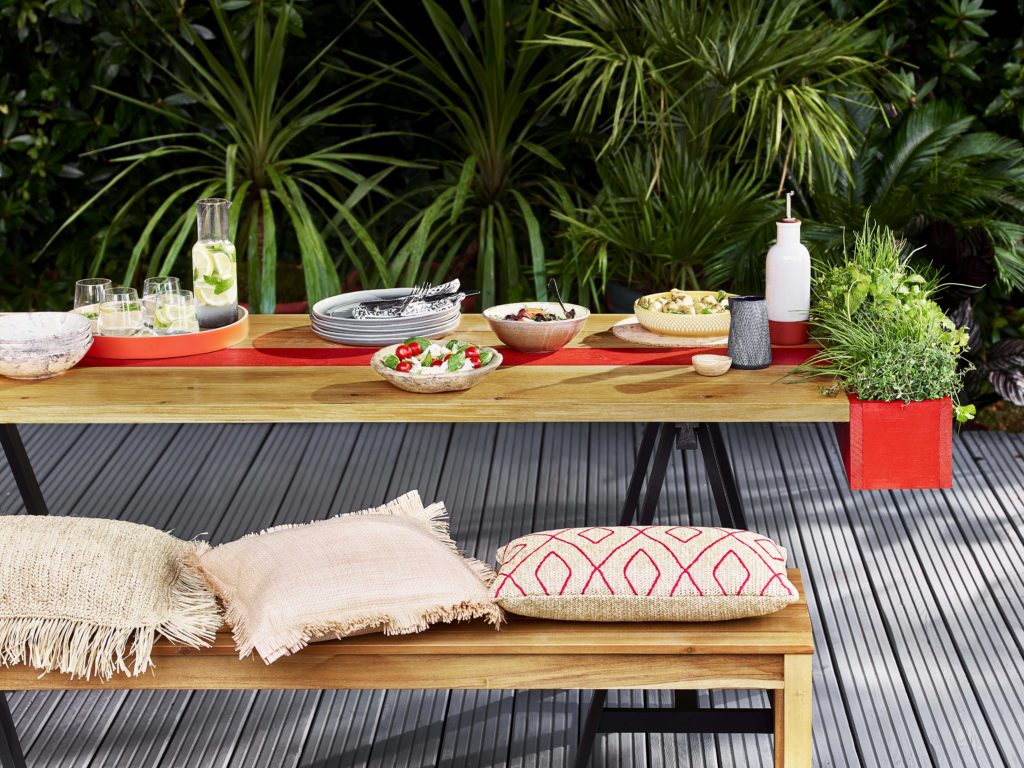
How to Create a Living Garden Table
What you’ll need:
1 x 1L Cuprinol Garden Shades in your chosen colour
1 x large, unpainted, wooden garden table
Masking tape
1 x small roller
1 x small roller tray
1 x paint brush for dusting
Sandpaper/flexible sanding pad
1 x treated but unpainted window box the same width as the table (2 if you wish to have one at each of the table)
3 x fixing brackets & screws per window box
1 x screwdriverCollection of fresh herbs for planting
Step 1: Mask off a strip down the centre of the garden table.
Step 2: Paint in the central strip with a small paint roller and tray and a tin of your favourite Garden Shades colour.
Step 3: Sand off any rough edges and paint the outside and top edge of a wooden window box in corresponding Cuprinol Garden Shades colour.
Step 4: Attach brackets at equal distance apart onto one side of the window box.
Step 5: Screw the window box to underside of table.
Step 6: Add plants/herbs/flowers and enjoy your living garden table.
How to Create a Budget DIY Fairy Garden

What you’ll need:
- 1 x 1L Cuprinol Garden Shades in your choice of colour
- 1 x 2” paint brush
- 1 x terracotta pot (wide and shallow)
- A collection of moss, pebbles and twigs foraged from your garden
- 1 x garden trowel
- 1 x small bag of compost
- Gravel
- A collection of fairy and animal mini figurines
- Colourful fairy lights
Step 1: Paint the outside and 2/3 of the inside of the terracotta pot in your favourite Cuprinol Garden Shades colour. Do a second coat and allow to dry.
Step 2: While it dries forage for moss, pebble and twigs from your garden. Try looking in gutters or on roof tiles in reach.
Step 3: Line the bottom of the bowl with gravel and then add a layer of compost and press down firmly. Sprinkle with water.
Step 4: Decorate your garden with fairy dwellings. Magical!
How to Create a bug hotel

What you’ll need:
- 1 x 5L 5 Year Ducksback Silver Copse™
- 1 x rough sawn wood pallet
- 1 x hand saw
- 3 x flat head nails
- Sandpaper/ flexible sanding pad
- 2 x 2” paint brush
- Collection of straw, pine cones, hessian, jute, natural dried grasses, cut bamboo etc.
- Fine mesh chicken wire
- 8-10 metal pins
- Wire clippers
- Fixing bracket, drill and screws
Step 1: Saw off the end of the pallet using a hand saw.
Step 2: Lever off one of the planks from the discarded pallet and nail to the back of the cut section creating an open fronted box with 2 long slots.
Step 3: Lightly sand the pallet then paint with 2 coats of Cuprinol 5 Year Ducksback in your favourite colour. Make sure you dust off after sanding with a clean brush. Allow to dry.
Step 4: Once dry fill each slot with natural materials.
Step 5: Cut a length of chicken wire to cover the open front and hammer in small staples to keep in place. Trim to size. Fix bracket to the back, hang off a fence and wait for the bugs to set up home in their new bug hotel.
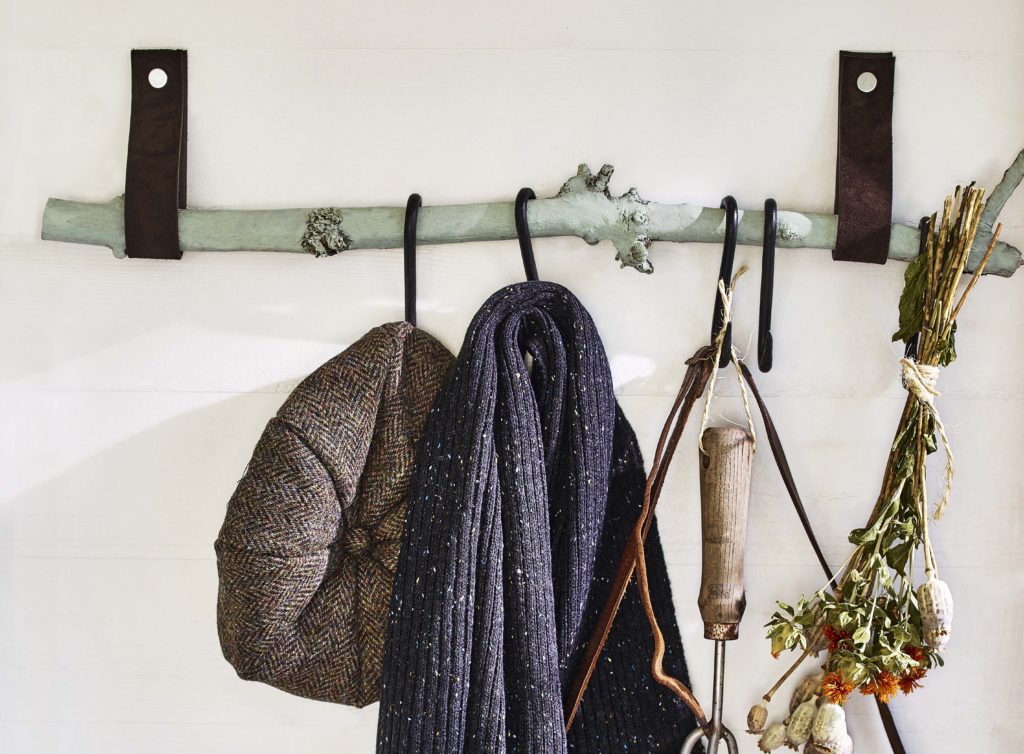
How to Create natural garden hooks
What you’ll need:
- 1 x 1L of your chosen Cuprinol Garden Shades colour
- 1 x 2” paint brush
- 1 x natural branch
- 1 x flexible sanding pad
- 1 x old leather belt
- 1 x leather punch
- 1 x pencil
- 1 x pair of sharp scissors
- 2 x mirror screws
- 1 x screwdriver
- 5 x hanging hooks
- Tape measure
Step 1: Remove any loose bark and dirt from the branch with a sanding pad. Brush off dust.
Step 2: Paint lightly in Cuprinol Garden Shades for a natural look and allow to dry.
Step 3: Loop over an old leather belt (approx. 30cm length) and punch 2 small holes. Repeat for a second loop.
Step 4:Mark and cut leather belt to create each loop, make sure the holes you’ve punched are approx. 2cm from the end of each cut.
Step 5: Measure and mark where to hang the branch on the shed wall and use mirror screws to fix leather supports in place.
Step 6: Add hooks and hang everything from coats to your garden tools.
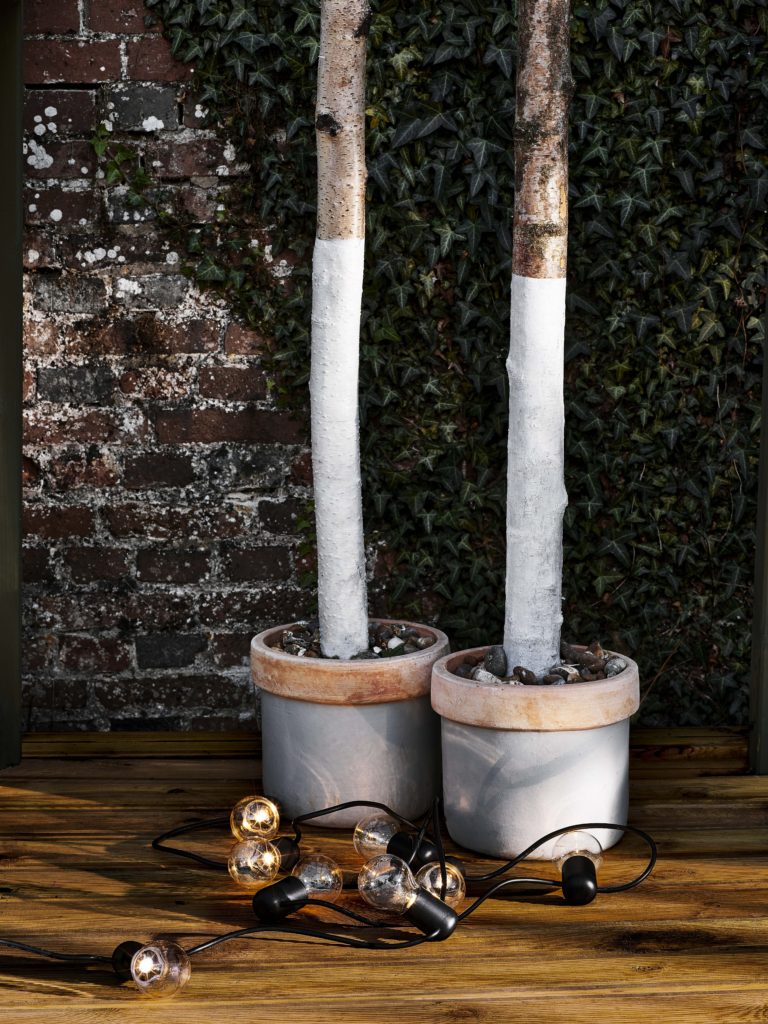
How to Create Budget DIY Outdoor Floor Lamps
What you’ll need:
- 2 x 1L cans of Garden Shades in your two favourite colours
- 1 x 2” paint brush
- 1 x dust sheet to keep your paving looking perfect
- 2 x large terracotta pots
- 2 x 1.8m tall, straight logs
- 1 x plastic bucket
- 2 x 5kg bag of quick dry cement
- 1 x trowel
- 1 x pair of rubber gloves
- 2 x bin bags
- Masking tape
- Small collection of stones
- 2 x screw in hooks
- Coloured festoon lights from Ultra LEDs
Step 1: Grab a couple of matching terracotta pots, pick up a 1l tin of your favourite Cuprinol Garden Shades colour and apply 2 coats of paint to the outside of the pots.
Step 2: While the paint is drying mix up a 5kg bag of quick dry cement in an old plastic bucket using a garden hand trowel. Remember to pop on rubber gloves before you begin to protect your hands.
Step 3: Before you fill the pots with cement, line the inside with a bin bag – this will mean you can reuse the pot at a later stage for another garden project. Pop a log into the centre of each of the pots and fill the surrounding with cement. Prop up the log so it sits straight in the pot while it dries (you can lean it against a work table and use masking tape to hold steady).
Step 4: Now to paint the logs. First mask off the log 1/3 from the base and lightly paint 2 coats in a complementary Cuprinol Garden Shades Colour. Peel off masking tape when dry.
Step 5: Once the cement is dry, trim the plastic bag to top of cement and cover the dry cement with a collection of stones.
Step 6: Screw in a hook at the top of each of the logs.
Step 7: Position the pots either side of a garden table and hook the colourful festoon lights on both branches. It’s time to entertain!

Just a group of real women dealing with life’s daily struggles! Want to write for us? Email: hello@thedailystruggle.co.uk

