The gua sha facial has hit the headlines in a big way this year, but what TF is it and can it really help to make you look younger? Let’s investigate…

What is a gua sha facial?
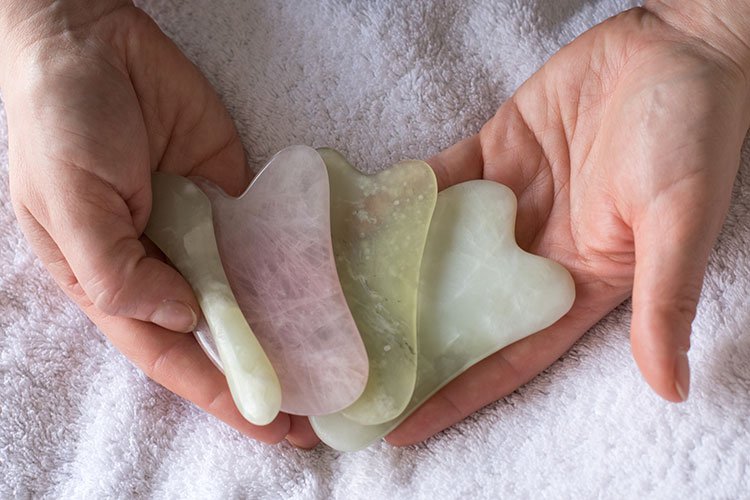
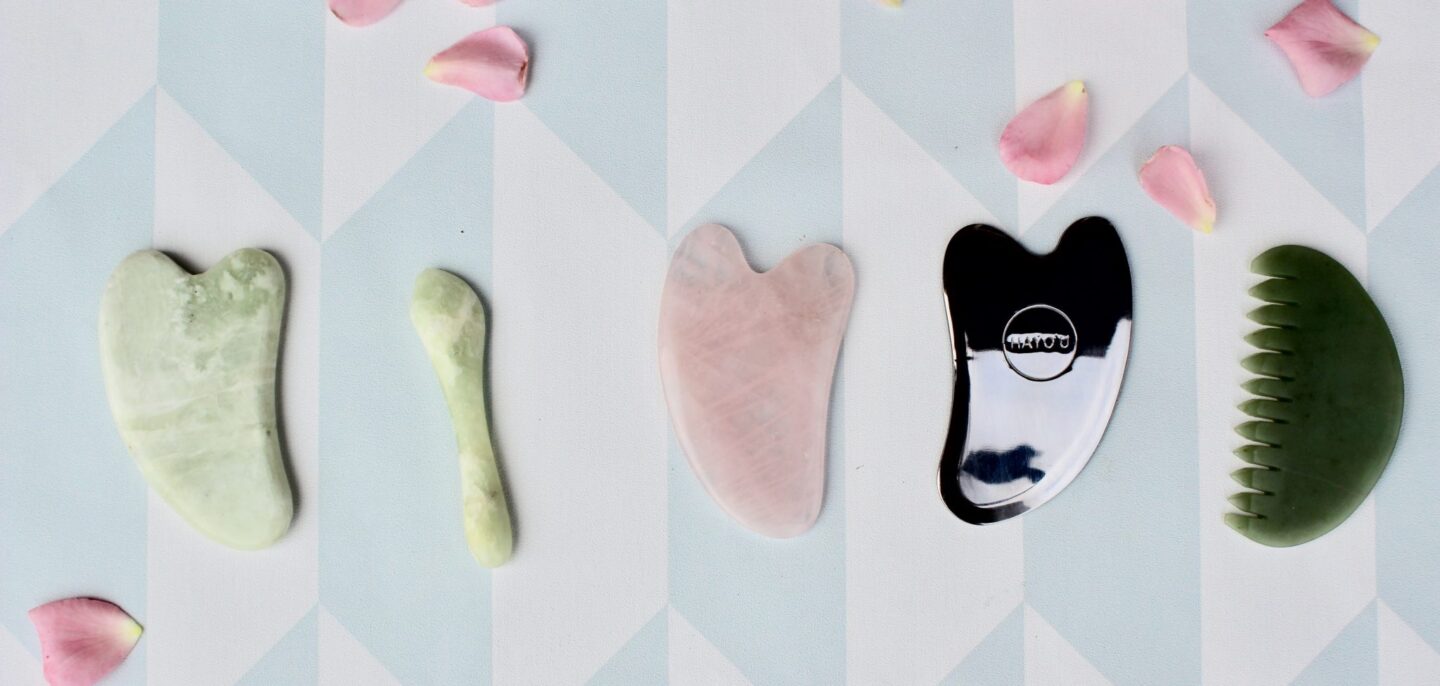
Known as the ‘natural face-lift’ a gua sha facial is the art of using a half-moon shaped stone, (designed to cradle your face and, in most cases, these tend to be made out of Jade or Rose Quartz) to gently increase circulation and stimulate the lymphatic flow in your face.
But how does it work?
As well as helping to relieve tension in the face, reducing puffiness and inflammation, gua sha is thought to enhance healthy skin by increasing blood circulation, toning facial muscles and redefining the jawline – making it a brilliantly natural way to achieve younger looking and firmer skin.
Studies have also suggested that gua sha facials can help relieve a number of health conditions. When used on the body, it is thought that gua sha is good for musculoskeletal problems, especially major ones like tightness in the shoulders, legs and back.
In some cases, it has also helped to relieve tension headaches, migraines, neck pain or swelling in your body – and some Sobo adds that gua sha can even help with anxiety, fatigue, insomnia and perimenopausal symptoms when done in addition to acupuncture.

So, what does a gua sha facial tool do?
Lynn Mason, Mavala’s in house expert explains:
“The Gua Sha tool is shaped perfectly to move effortlessly around the contours of your face. Used correctly, it can encourage lymphatic drainage, boost blood circulation, help stimulate collagen production, reduce dark circles & puffiness around the eyes and leaves the skin feeling more toned, brighter and all round looking healthier.
“You should use a product that will not easily be absorbed into the skin so you have the slip & glide to use the tool without dragging. A balm-textured product of a leave on mask such as the Mavala Aqua Plus Sleeping mask is perfect for this, it also has the added benefit of triple molecular weight of Hyaluronic Acid. “
How to use
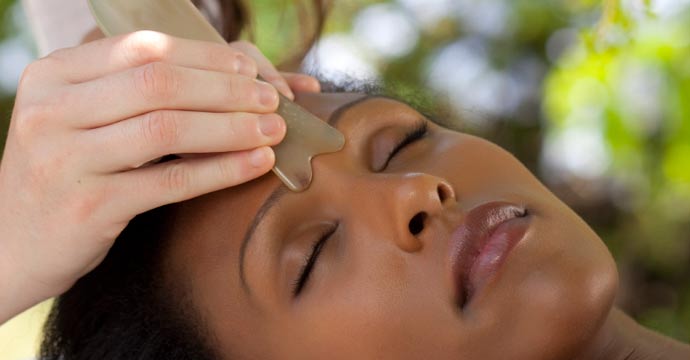
Skincare expert, Lynn Mason went on to explain that the best techniques to use are ‘up and out’ movements like a therapist would do in a facial within a salon, in order to achieve all the benefits of the Gua Sha.
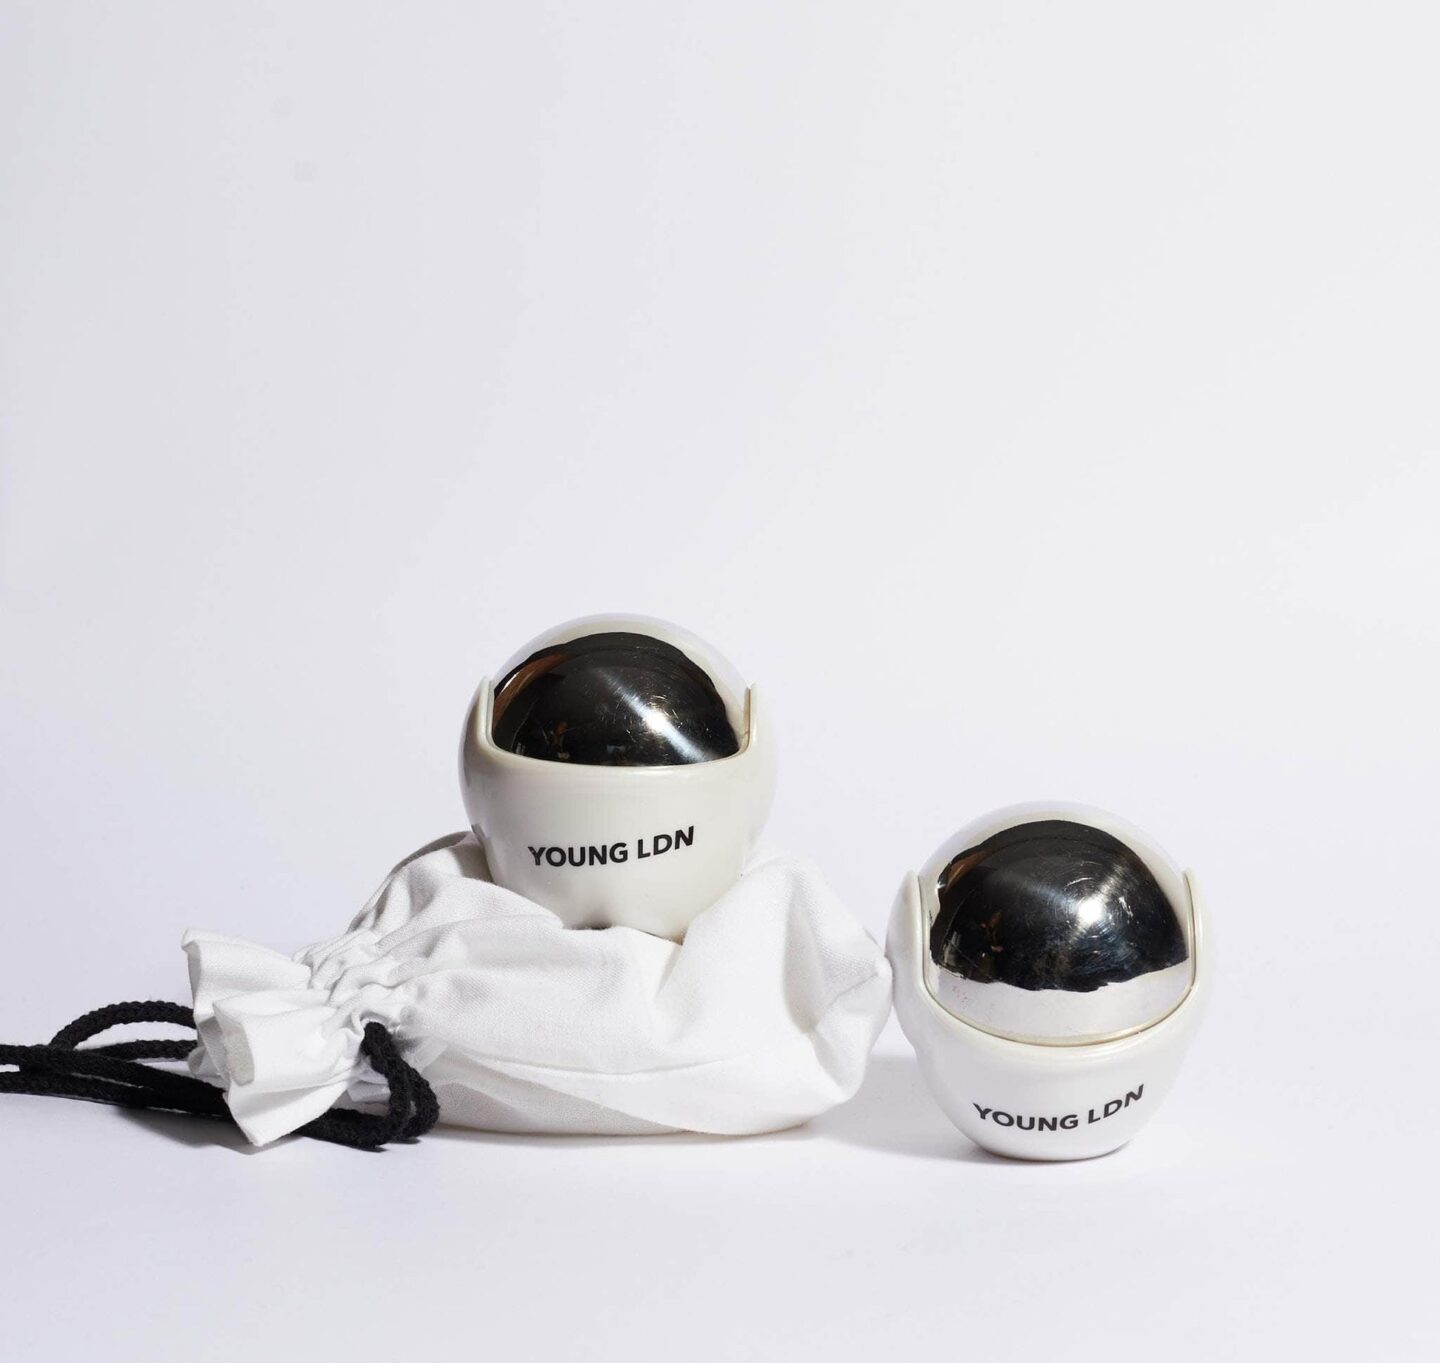
Start by using a crystal gua sha, or an at-home cryo ball like the one above from Young LDN which is specifically designed to brighten dull complexions, de-puff your face and dramatically reduce heat.
Step 1
Starting at the chin, use the Gua Sha tool along the edge of your jaw line up to the bottom of your ear with a medium pressure to lift and tone. You can repeat the movements over the same area and will stimulate the blood supply to the area causing erythema (slight redness) this is perfectly normal and shows the skin is being stimulated. You can also use the tool across the centre of the lip pushing outwards and upwards in the same motion.
Step 2
Next use the same technique along the cheekbones, utilising the shape of the tool to fit around the bone structure. Use the same medium lifting pressure to start at the apples of the cheeks and up to the temples, releasing any muscle tightness within the face and aiding drainage.
Step 3
For the eye area, use the flatter side of the tool or whichever side feels comfortable to get into the corner of the under eye, do not drag or use too much pressure but nice smooth movements out towards the temples. This will help reduce puffiness and dark circles the eyes. For the upper eye, use the curved edge one again to fit over the brow bone and starting from the top of the nose smooth outwards and to the temple again. The brow can often hold a lot of tension, so going over this area a few more times will help release any tightness.
Step 4
Lastly, use the flat again against the forehead going in upwards motions towards the hairline. As the skin is flatter and tighter here, the flatter edge works better as the curved areas have nowhere to fit around.
Step 5
If you want a full experience, you can start using the gua sha tool on the neck at the beginning of your facial, using the long edge to start at the centre of the neck and upwards to the chin.”

TDS Editor, and resident witch.
I share witchy tips, home and garden renovation ideas, and fun places me and my daughter have been on our travels.
Follow me on TikTok @scarlet.wonderland

