Microgreens are a nutrient-dense food that contain a variety of beneficial vitamins and minerals, but why should you be growing them… and, more importantly, how? They are also packed with flavour and have a wide variety of health benefits.
Why Grow Microgreens
As well as being packed with flavour and having a wide variety of health benefits, microgreens grow really quickly and can be ready to eat within a few weeks depending on what seeds you sow. You can use fresh seeds, but it’s also a great way to use out of date seeds rather than just throwing them away, as I’ve done here – it’s surprising how many old seeds will actually germinate.
The benefits of growing your own microgreens include:
- You can grow large numbers of plants in a very small area.
- There is very little time, cost or effort involved in return for a healthy harvest of organic greens.
- It’s a great way to grow plants if you have little time and no garden, as all you need is a window sill and good light.
- You get to produce fresh living greens for salads, sandwiches, soups and garnishes throughout the seasons.
- It’s a fun way to get kids interested in gardening
You get to enjoy the beauty of an indoor edible garden.
Microgreens provide a variety of delicate flavours, textures and colours that have many uses in the kitchen.
Many varieties will regrow and produce several harvests.
What microgreens should I grow?
There are an endless variety of suitable microgreens that you can grow at home using minimal space. The most popular include:
basil
- beetroot
- broccoli
- cabbage
- celery
- chard
- coriander
- kale
- lettuce
- parsley
- peas
- radish
- rocket
- spinach
- sorrel
Growing microgreens at home
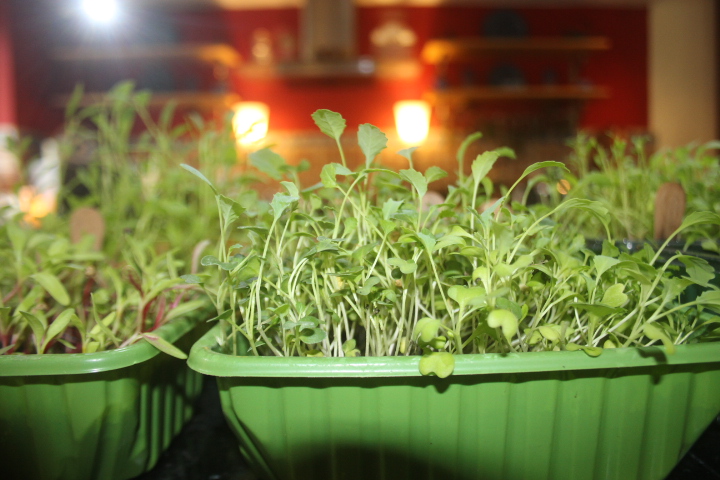
Microgreens can be grown really quickly from seed, all that they need is some good quality organic compost/light soil, a natural light source and some water – but always use water using a spray bottle to avoid drowning the seeds.
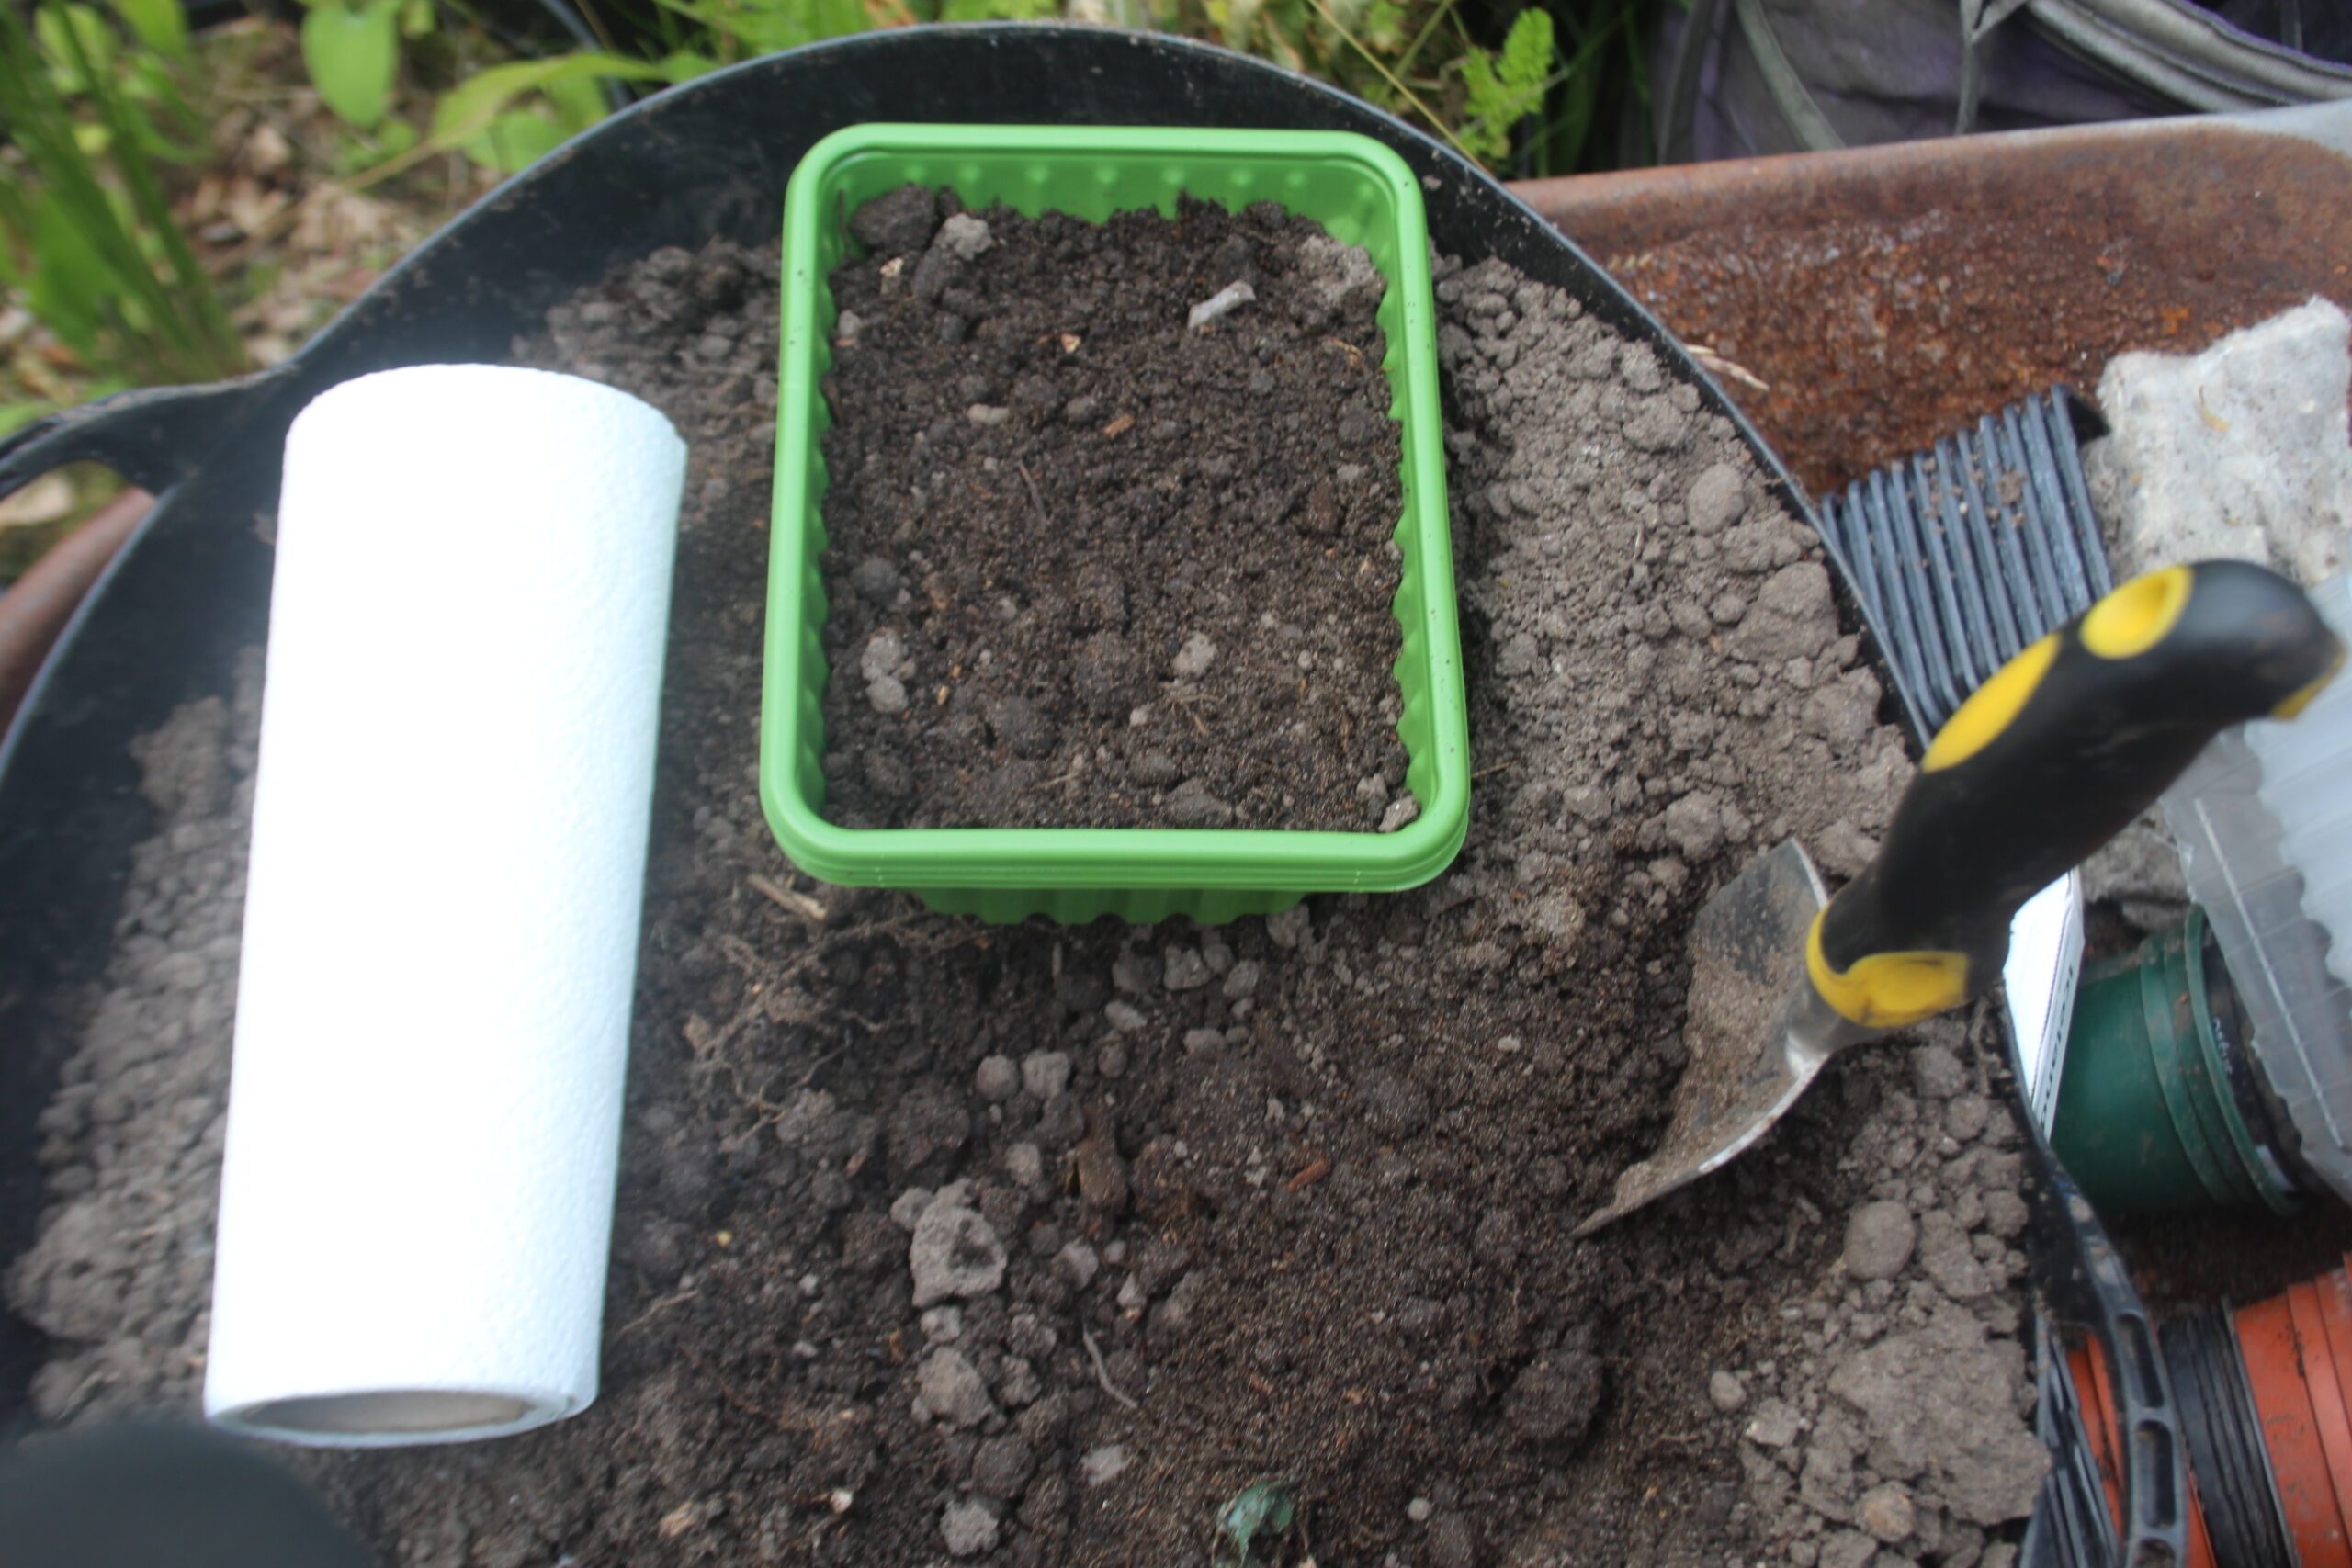
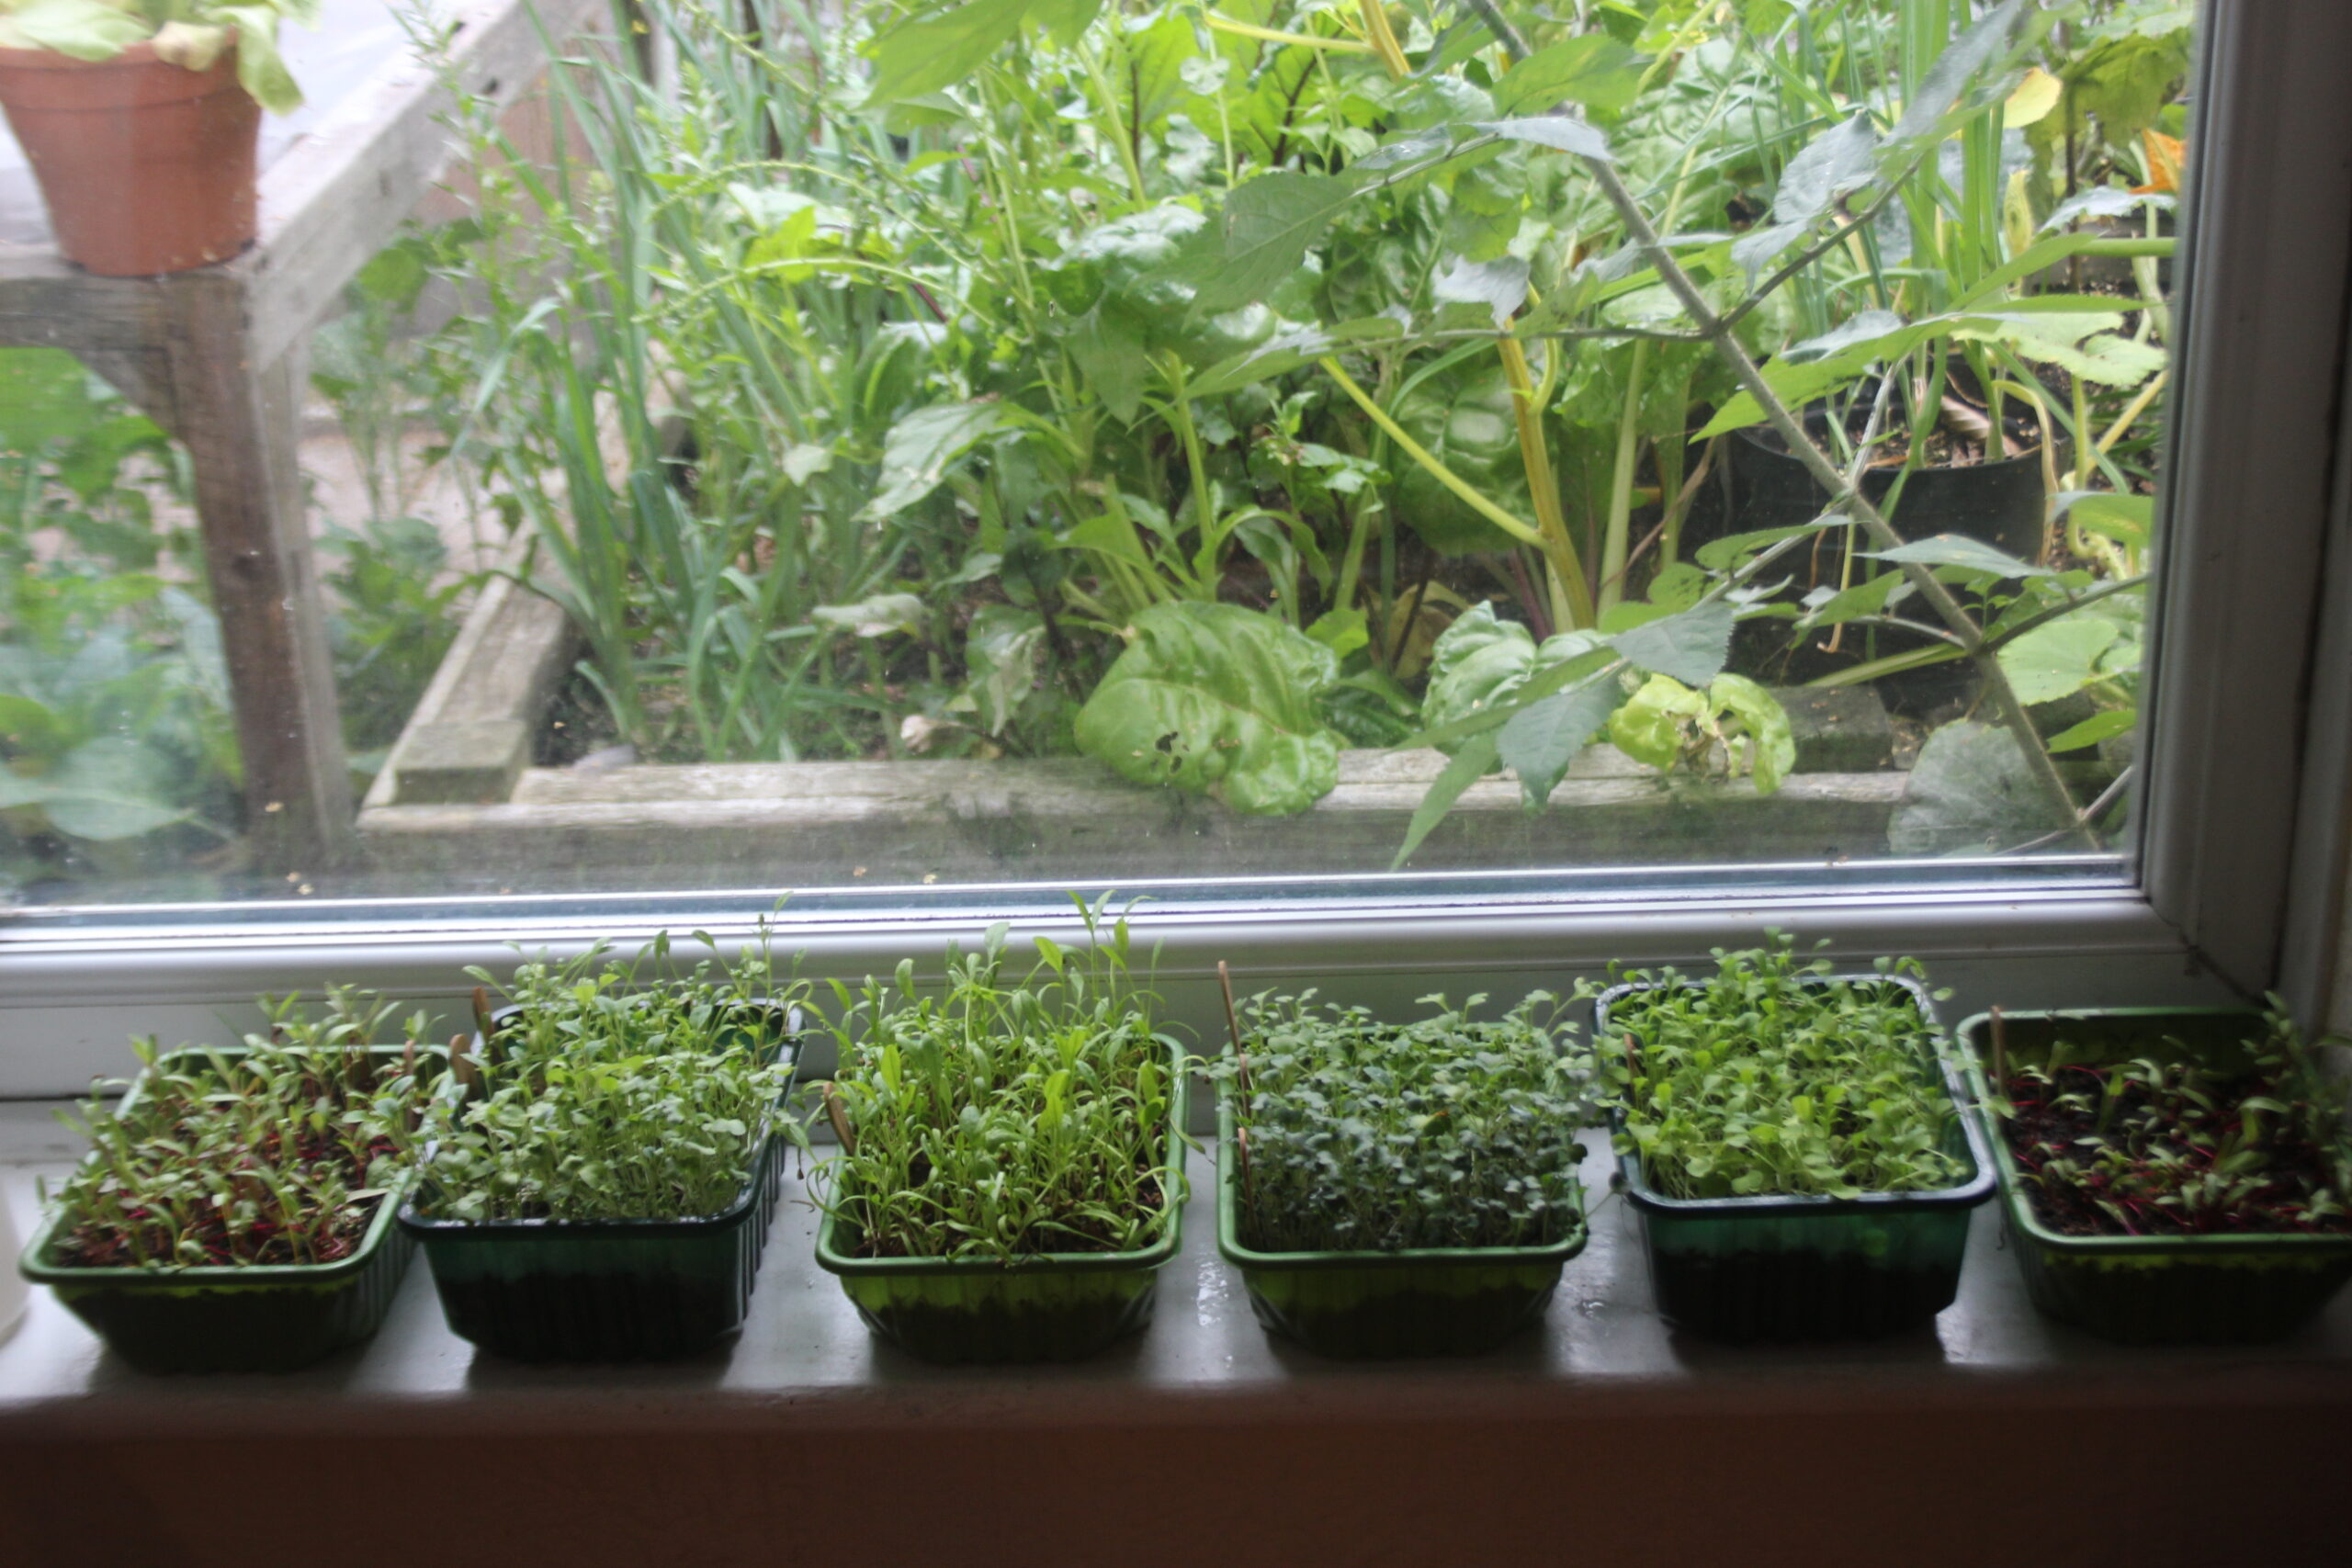
Any small shallow containers can be used to plant your microgreens, (I find that up-cycled vegetable cartons are the ideal size and depth) but always ensure that your containers have drainage holes and you line with kitchen roll, old newspapers or cardboard.
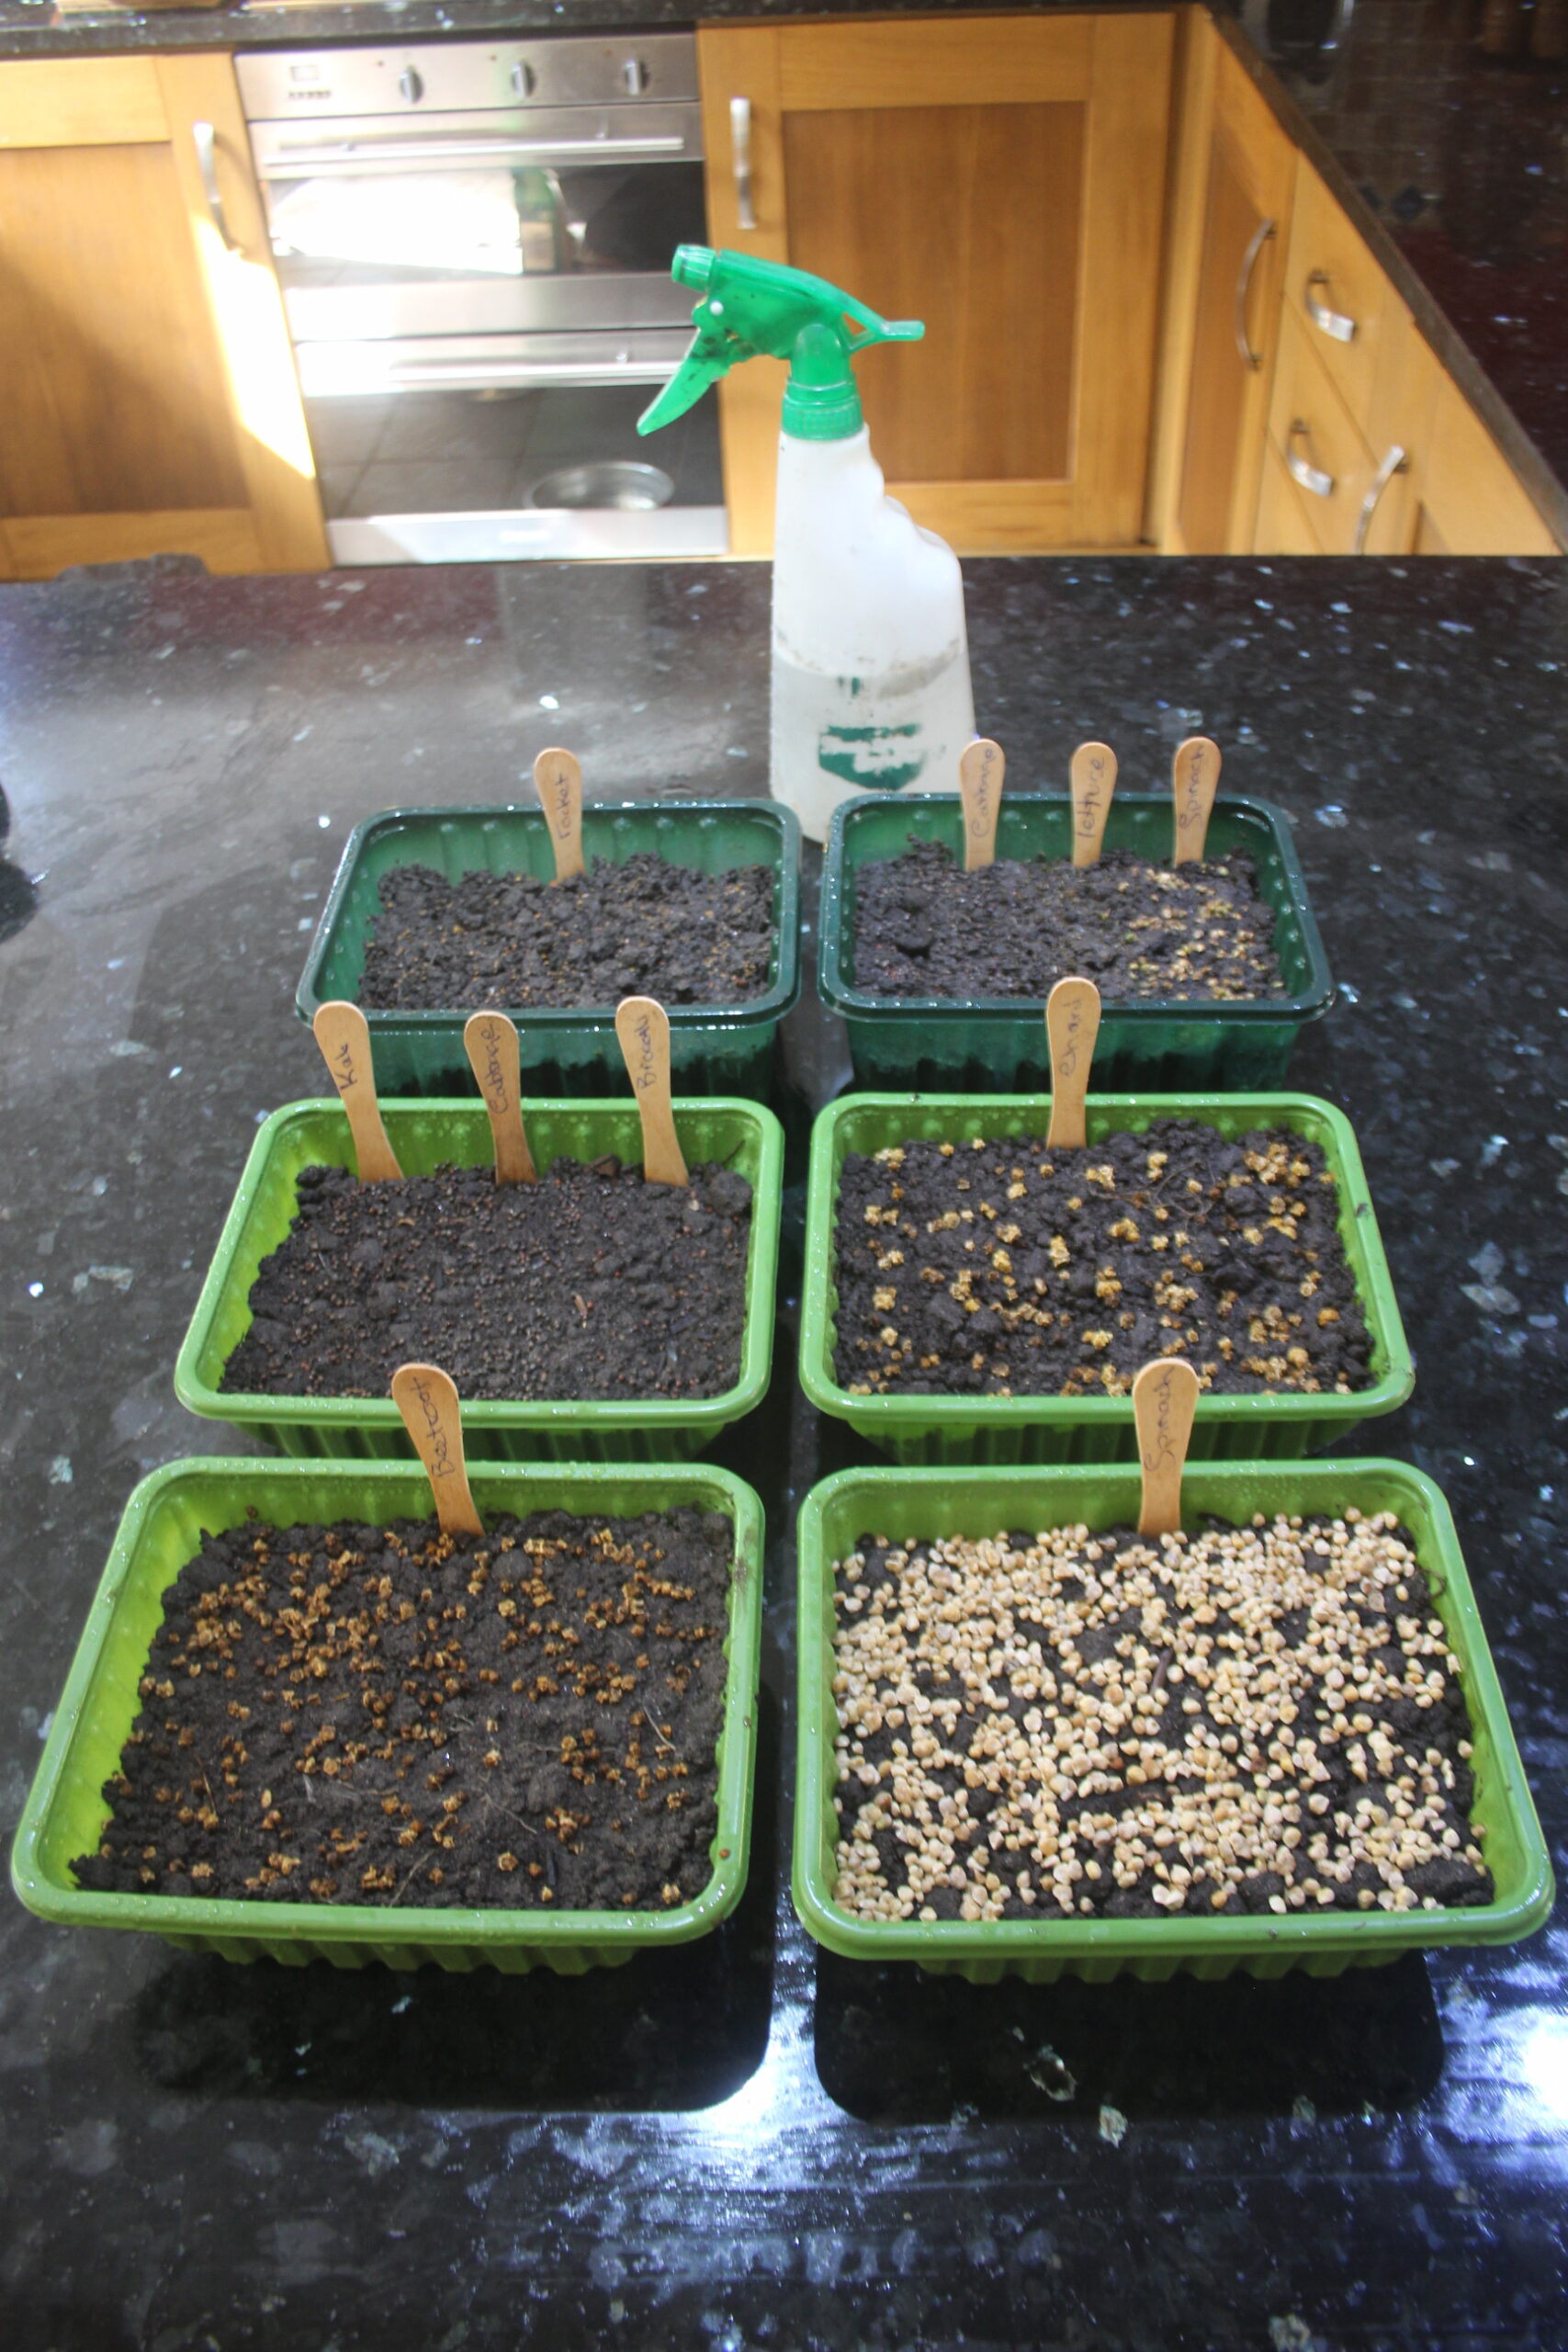
Once you’ve got your containers ready:
- Clearly label and date the seeds, (old lollipop sticks marked with a waterproof felt pen are ideal for this)
- Place seed trays on a drainage tray
- Generously sow the seeds over the compost, ensuring the spread is even
- Gently press the seeds into the soil using a ruler or cardboard
Water your microgreens each day, but check the soil before you do so to avoid over-watering and never allow the soil to dry out. If the seeds are on a windowsill, turn them each day as they will lean towards the light.
Harvesting home grown microgreens
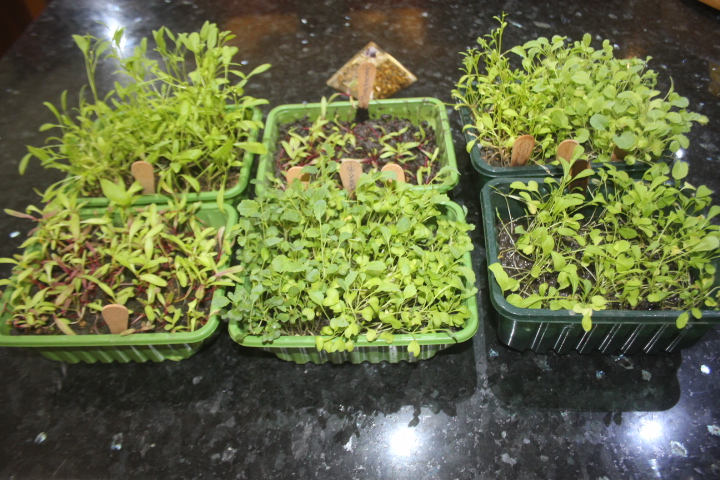
You can harvest your microgreens after the first true sets of leaves develop, which is usually when they are between one and three inches tall. Using scissors, snip the stems at root level, and often you’ll get several harvests as many of the plants will grow back.
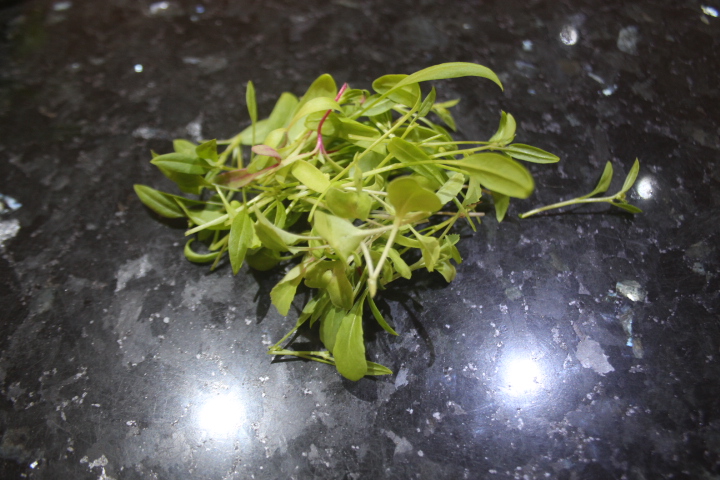
Use your microgreens as a garnish, or in soups and salads – they are also a tasty addition to main meals and juices and smoothies. If you are growing plants with children and need some fast results, use quick-growing plants like radish and cress, and grow them in brightly coloured containers.

When it comes to anything to do with gardens and wildlife, Dina is your woman. From growing your own veg to making your garden the perfect haven for UK wildlife, follow Dina’s top tips.

